Showing posts with label project. Show all posts

Tuesday, April 28, 2015

on Long Breaks, Backlogs and Portraits

It has been awhile since I last wrote something on this blog. I have been meaning to blog about some of my portraits from 2014 but I just haven't had the time or the motivation to do so. So while I am in a lull from shooting events and for clients, I want to write about my personal shoots last year.

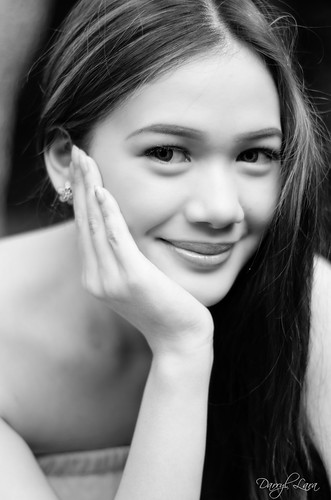
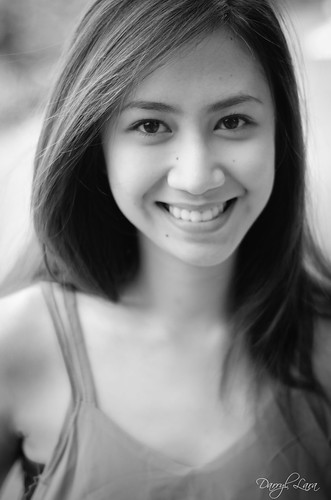
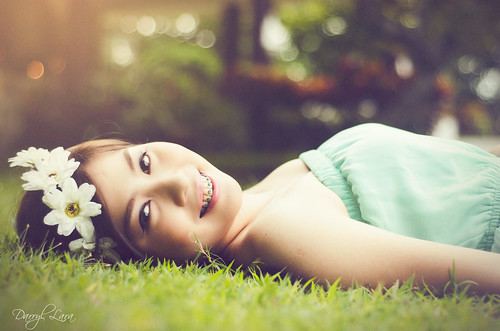
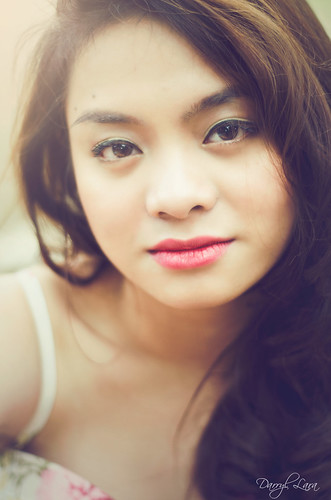
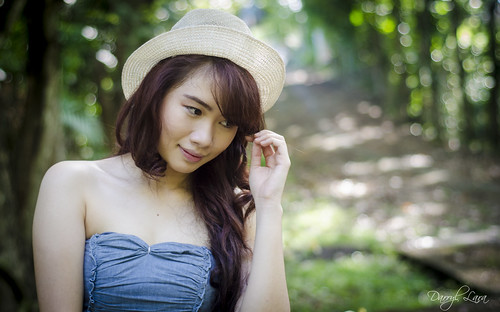
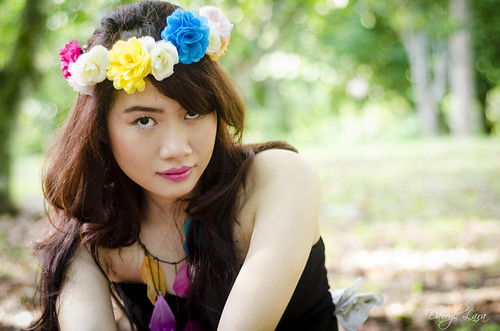
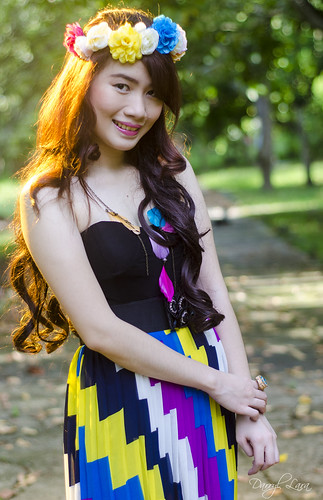
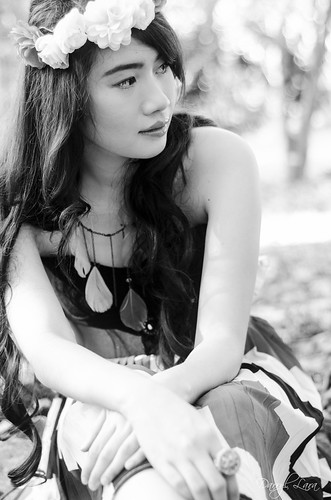
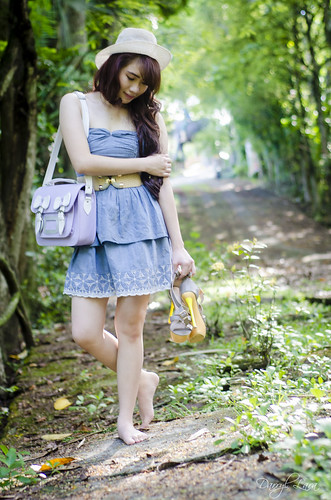
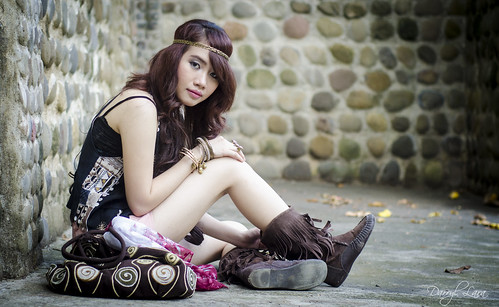
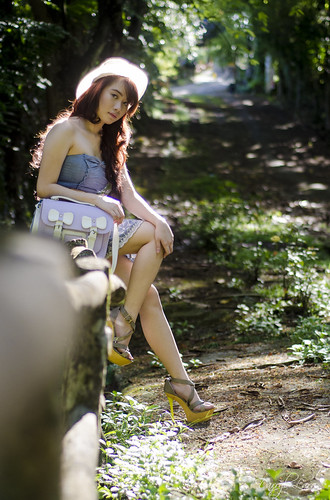
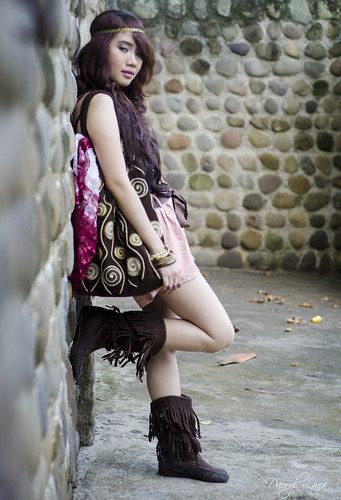
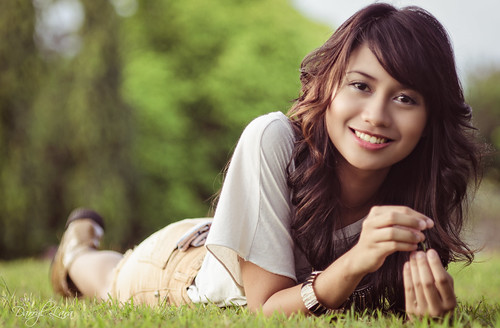
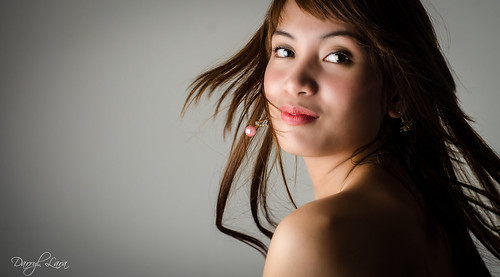
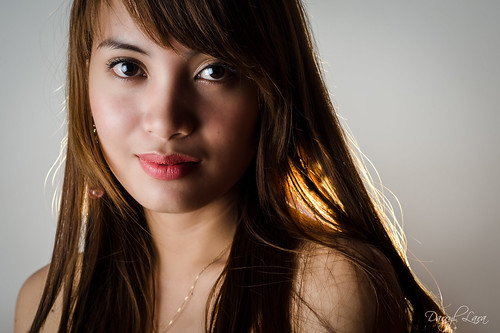
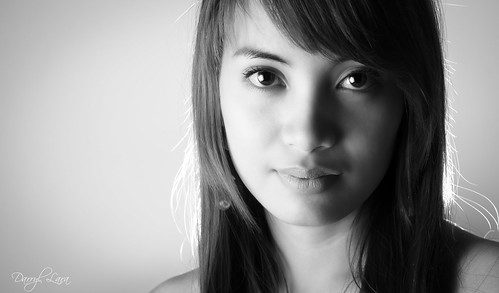
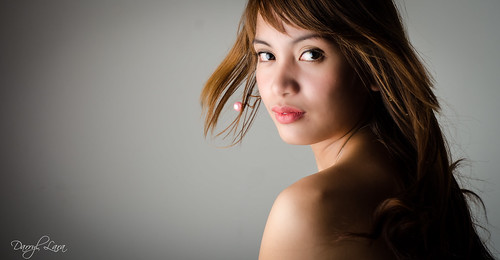
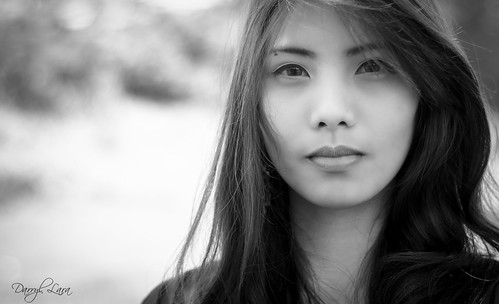
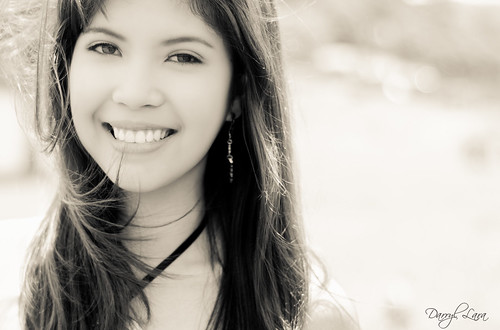
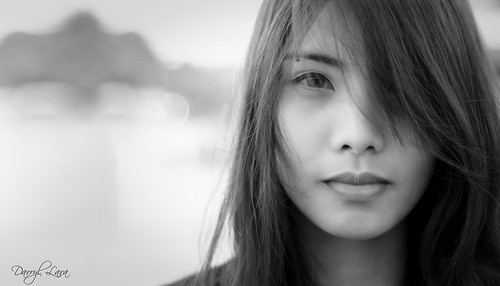
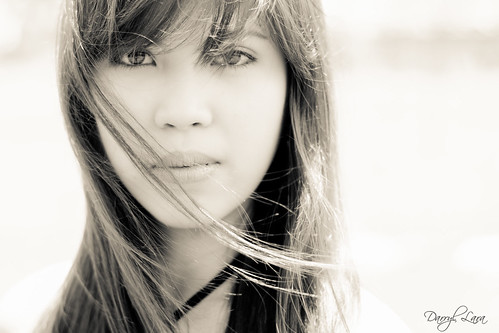
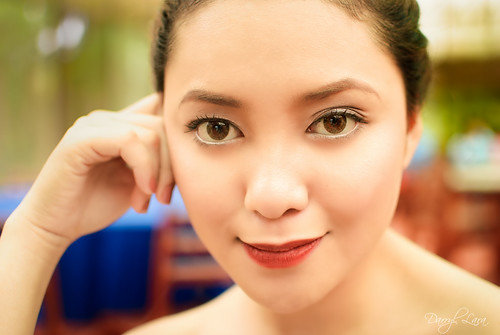
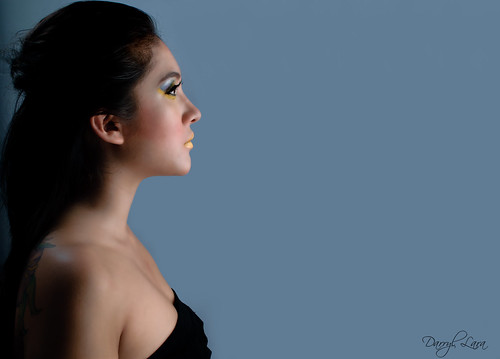
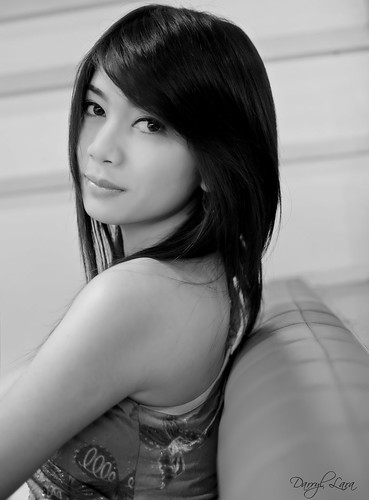
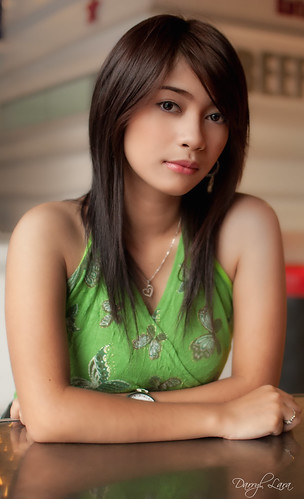
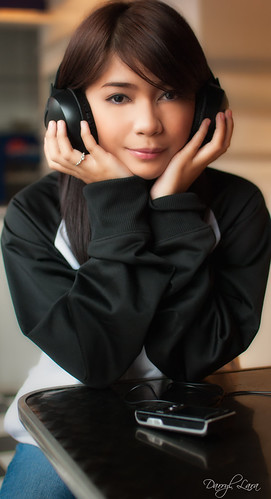
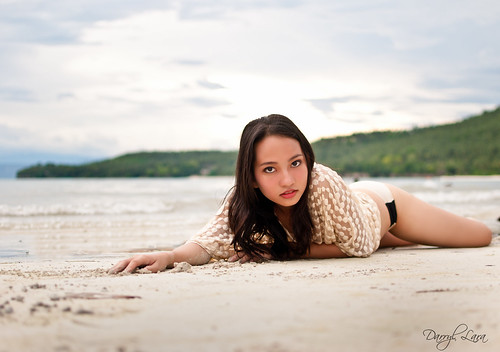
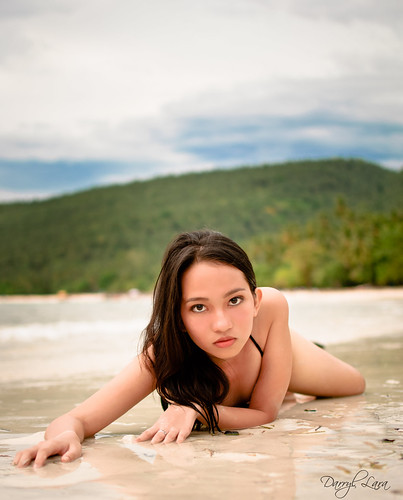
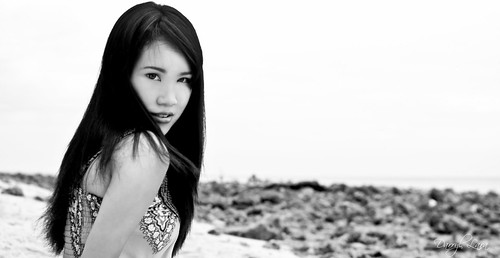
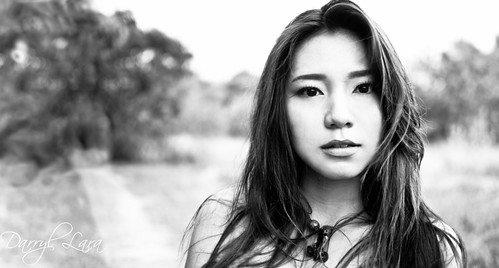
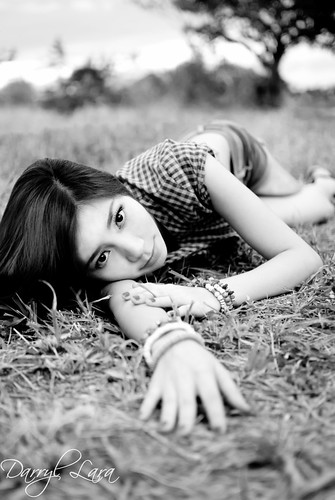
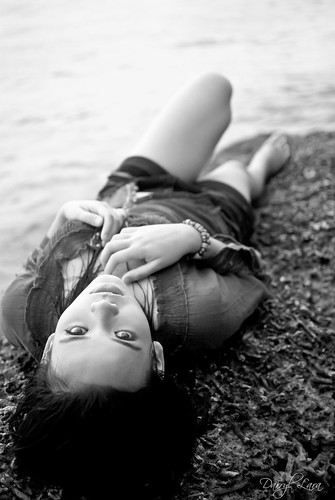
People have been asking me if I have finished my 100 portraits project and sadly I haven't. I still have to reach halfway into the project. Since I have this HUGE backlog of portraits to post, I will be publishing these five portraits that I will add to my project. These five ladies are all friends from highschool; they went to the same school as me. And I did all had their "pre-debut" portraits. All the photos were taken last year during "pre-debut" portrait sessions. I like working with them as subjects because the shoots are all light-hearted and fun. I guess photography is the one aspect of my life where I perform best when not under immense pressure.

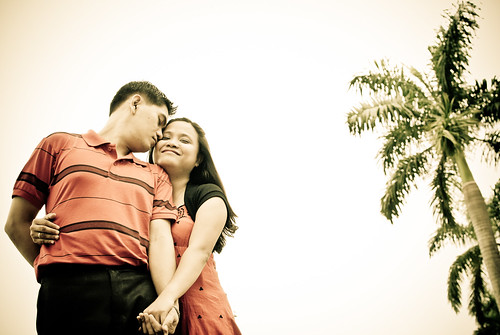
It was also from their shoots that I got the hang of post-processing with the colors I use now. I got so used to the workflow that I have been applying it to all my shoots with people regardless of it being a portrait or an event. The vintage purplish / yellow / sunset hue is now an identifying trait of my portraits; call it my signature style if you want. I want to continue developing this workflow until I a master it.

Here are the five portraits I am adding to my collection...

Portrait #40: Annalou
gap (2 of 3)

Portrait #41: Rin-rin
rinrin (2 of 5)

Portrait #42: Mary
jill + mary (1 of 10)

Portrait #43: Ella
ella (2 of 2)

Portrait #44: Jill
jill predebut (5 of 27)

PS: I will hopefully be shooting a few portrait sessions before the summer ends. If anybody is interested, do send me a message in facebook, twitter or instagram.

PPS: Speaking of instagram, I added a widget on the right for my instagram feed. Follow my mundane not-so-artsy photos of everyday life there.

Friday, June 28, 2013

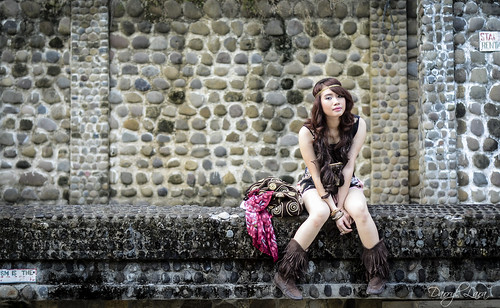
on Fashion Photography, First Time, and Portrait #37

Photography... it is a never ending learning process.

I have never been someone who people would think of for a fashion photography shoot. I am not that comfortable shooting whole body portraits compared to shooting head shots. And I know next to nothing about fashion. You wouldn't really expect a guy who wears the simple t-shirt - jeans - sneakers combo to be much of a fashionista right off the bat. But then again, I went to a very hip and trendy college and do browse magazines from time to time so I do have some sort of idea what I am getting myself into; or at least that was what I thought. And believe me, I never expected it to be a workout.


first session (6 of 10)
 doing my usual head shots...

I took this fashion shoot as a challenge and told Paulyn, who invited me for this shoot, that I have very little experience shooting fashion stuff. Well, she had faith in me so I got the gig. I did my homework and got some inspiration from popular fashion bloggers in the country; and there is always 500px as reference material.

first session (4 of 10)
 testing out if the strobes would look nice...

My usual shooting order is find my models angle, place her in the right location, shoot my keepers and do my experiments later. This is how I shoot when doing headshots as I already have that basic formula from experience. I can get from finding angles to shooting keepers in about a few minutes time. The experimental part takes a lot longer. This is my usual workflow because shooting keepers first makes sure that the effort to do the shoot doesn't go to waste. Only after I know that I have some decent output do I even try to play around with what I have.

first session (6 of 11)
 I also tried if monochrome would work...

I went about the shoot in reverse of what I usually do. With this shoot, I first had a location in mind, did a few test shots and then worked for my keepers. I first had to experiment to see what worked and what didn't since I still don't have a formula for shooting fashion stuff. I spent more time experimenting than nailing down keepers since this is a first.

first session (3 of 10)


first session (8 of 10)
trying out composition I figured would look close to what I usually see in blogs...

I am happy I did this shoot. I learned a lot and gained valuable shooting experience which I could apply. There are things I need to learn like shooting details and knowing how to match my subject to my location. And I do have to overcome that mentality that I have to highlight the model's face; I need to learn how to balance my shots so I can show her beauty as well as her outfit. Overall, I did good considering it is a first time. I am still in the process of mastering the popular way of doing this fashion shoots for blogs. Sooner or later, I will find my own way of shooting fashion.

first session (1 of 10)

first session (7 of 10)
 I still have to learn how to shoot the whole outfit...

And before I forget, my model Paulyn is a fashion blogger, stylist, and makeup artist rolled into one. She is easy to work with and really comes prepared for a shoot. I can't wait to do the next shoot with her. We will start planning it soon.

Portrait #37: Paulyn

PS: Uber thanks to Paulyn for being very game model and for the confidence that I could deliver output, to Alfe for recommending me as a photographer and Francis for being the instant support crew for her sister. Until next time! :D

 PPS: do visit Paulyn's blog at http://dypaulyn.blogspot.com
Sunday, December 30, 2012

on 2012 Year End Blog and a Simple AVP

A few weeks ago people were bickering about photography; I was included in the melee. There was the side that defended photography as being an art and those who just didn't care as long as they can shoot and call themselves photographers. For me personally, photography is an art and I will not stand by and watch others bring it down to a level that is demeaning for those who worked hard and tried to make it better.

But I had a realization just before Xmas. During the debut celebration of my student, I realized something while covering the event and while I presented the simple AVP I did for her. I realized my photography, especially doing portraits, is not only meant to express creativity; it is meant to bring smiles to people. It is the greatest feeling when strangers come up to you and say how much they admire your work and enjoy looking at your photos. Its good when a friend or a peer acknowledges you, but when a stranger takes time to leave a comment or tells you how much he/she likes your work; that will surely make your day.

The greatest realization I have had this year is that my photography is not only meant to make me happy but to make people who see my work smile.

And probably the greatest joy in my projects this year is when I finished and presented the AVP. It was too bad my PC could not handle the rendering requirements of a flashy AVP done in After Effects. I had to settle for a simple AVP that presented the photos in a straight-forward manner. The funny thing is, I think the simple presentation suit me best since I have this very basic minimalistic approach to shooting portraits. Simplicity is beauty.


I'd like to that Lalai for trusting me with this shoot and avp. And to all those who supported me and gave critique to my work through out the year. To all the models and photographers who were involved in helping me improve my skills. To the Photobomber Crew for all the shoots and learnings I had this year. And also a very big thank you to every one who visited my blog.

Happy New Year to you all! May 2013 bring us all prosperity and happiness!

Tuesday, December 4, 2012

on My Favorite Student and Portrait #35

Sometime ago, I decided to be a mentor to a young photographer. She had a knack for portraits, events and street photography like me so I decided to impart to her what little knowledge I have. But honestly, she’s grown by leaps and bounds on her own. I only give her advice on what to do based on my past experiences and she takes it from there.
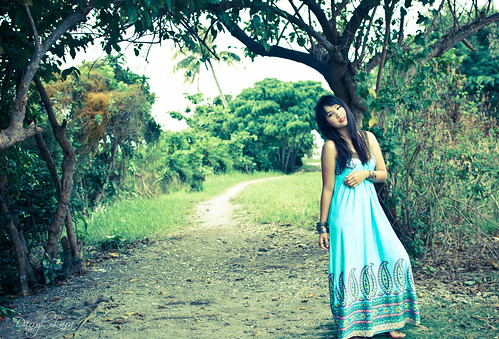
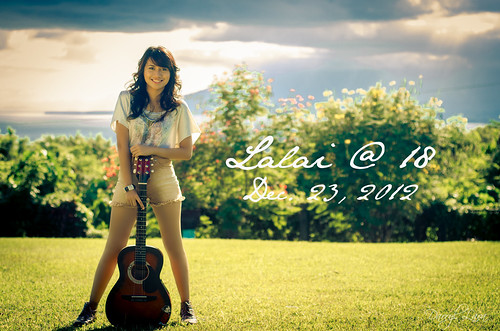
She is soon turning 18 and as a gift, I told her that I would shoot her pre-debut pictorial. I honestly got a little bit pressured because I'm shooting someone I am mentoring. It's different from shooting models who know little about the craft as compared to shooting a fellow photographer. They'd know if you make a wrong move or take photos in the wrong angles.
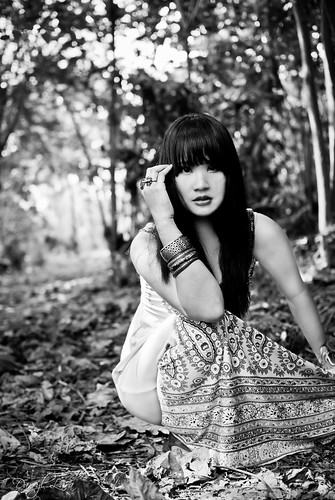
save the date

And of course, I had to prove to myself and those who know that I am her mentor that I could deliver good output.

b&w

We ended the shoot after sunset as there was no more light to shoot with. On the commute home I felt like I could have done more during the shoot and I feared that I didn't have enough keepers for a slideshow. But after reviewing the shoot, I realized I did well during the shoot. I had enough keepers for my slideshow; perhaps even more.


close up

Overall, I was happy with what I got from the shoot. Not only did I satisfy my own set of goals but I got positive reactions from those who have seen the few photos I published. And I got another portrait to add to my project.

Mission Accomplished!

Portrait #35: Lalai
portrait

PS: I am not yet done with the slideshow... and I will post it after her 18th birthday...

Monday, October 1, 2012

on One Light and Portrait #34

When dealing with indoor portrait shoots, I usually only need one light source. And the safest place for me to set it up is at a 45-degree angle to the side of a model and at eye level. This technique is something I learned some time ago by watching tutorial videos from the master of One Light Photography, Zack Arias. I really like the setup because it is so simple and it almost always works for portraits.

Two weeks ago, I got to use it again because while setting up I found out that we didn't have a light stand for the big studio light or the small strobe that we had. We improvised by letting the model sit on the floor while we set the light on a chair. It was technically not a one light setup but only one light was used to illuminate the model while a small strobe (used as an optical trigger for the studio light) was bounced against the wall but I think it didn't have much effect on the portrait. I added a bit of motion to the photo to make it a little better.

motion (1 of 2)

The second was a split light setup which was more to the side of the model to illuminate just one half of the face. I placed the small strobe behind the model to serve as rim light. I like this setup too because it adds quite a bit of drama to an otherwise plain portrait.

portrait (1 of 1)

And of course there should always be one black and white photo.

b&w (1 of 1)

I prefer this simple light setup because when I look at my portraits there are fewer distractions from introducing too many lights to the photo. I don't have to balance the lights or use up an entire hour just to figure out what I want to do and where to place the strobes. And as with any type of photography I do: the simpler it is to setup, the more time I can spend shooting.

And after all, going back to basics is always a good thing.

Portrait #34: Kitty
motion (2 of 2)

PS: Special thanks to Kate who did the makeup and styling and Richard Amora of A Photographs for lending us the studio. And to the crew as always for being there for the shoot.

PPS: This is the the first set where I used only the Nikkor AF 50mm 1.8D.

Friday, September 28, 2012

on Opportunities and Portraits #32 & #33

Always shoot like it's your last day...

I was asked to do a class picture for the graduating accountancy class of a university here. I knew two girls from that class so I decided to go for it. And it has been a tradition of sorts for me to shoot a graduating class each year. Sadly, the shoot didn't go well. The location of choice was cramped so it ended with a not so nice group shot.

But it wasn't a total loss though. I made sure to take portraits of my friends. I've been asking them to model for me for a very long time and I final got the opportunity to do so. It was a quick shoot. I took just about ten frames each since I was seriously low on memory card space. Good thing I got keepers out of those few frames.

alfe portrait mono (1 of 2)

chesca portrait mono (2 of 3)

I'm sad that I didn't do well with the class photo but at the same time I am still glad that I took the gig so I could shoot the portraits. I learned that making the most out of every opportunity is very important. If you think about it, it's like I broke even on this shoot; failed group shoot but good portrait shoot. It's a learning experience and I hope to do better next time.

Here are the latest additions to my portrait project.

Portrait #32: Alfe
alfe portrait mono (2 of 2)

Portrait #33: Chesca
chesca portrait mono (3 of 3)

Saturday, April 14, 2012

on CS6, Tunnels and Portrait #30

One photo will make your day...

You can quote me on that statement above. I have said it before and always say it when shooting models or clients. I just need one photo to make my day. Everything else I shoot will just be for posterity sake. I mean, I am already there so might as well shoot some more right?

And last night I really thought I had a lot of time to edit an entire photoshoot set from a month ago. But then I selected my first photo, I didn't stop tinkering until I got what I really wanted out of it. I spent about an hour and a half doing stuff I normally don't do in photos like removing stray hair and all those portraiture stuff. Well, I guess there is a first for every thing.

Oh, and I did it in Adobe Photoshop CS6 Beta release. And I had so much fun because everything was faster and smoother. I learned how to use the color mode in the clone stamp tool and the new feature which is content aware move tool. But I didn't really move the subject around with the tool, I just extended the photo a bit to look more pleasing (in that rule of thirds kind of way). And the action scripts I use don't freeze my laptop anymore.

For those wondering how this shot was done. It was shot using my trusty Nikon D7000 and a Nikkor 85mm 1.8 AFD @ f1.8 and ISO 500 in ambient light. This was shot in a tunnel and I wanted to get the right light to expose my subject as well as the light from the other end of the tunnel for that starbust like effect. I am really liking the 85mm 1.8. I hope I can get one by the end of the year.

The model by the way is Mary Claire whom a co-shooter met while walking his dog. she does professional modeling here in the city. One this I really like about her is her confidence and easy going attitude. Well, come to think of it, those who get into my 100 Portraits project are all easy to work with.

 Portrait #30: Mary Claire

pano portrait (1 of 1)

PS: Special thanks to Karina Asetre for the makeup and styling and as usual the Photobomber Crew for the Shoot. Do like the Photobomber Crew Facebook page.

Sunday, July 24, 2011

On Ambient Light vs Strobes and Portaits #17 and #18...

Photography rule #1: always look for the light.

I took portraiture as a field of interest when I started playing around with strobes. I started with ambient light like almost everyone I know and my inspiration for my portraits came from Danny Santos, who is a well known ambient light, street portrait shooter. I also was inspired to do 100 portraits just like him.

And lately I have been leaning towards shooting in ambient light. If you'd ask me why: its always about simplicity.

Photographers these days think of concepts and themes, go with outlandish makeup and costumes, and consume time with setting up and everything else when they should be shooting. Truth be told, I never had a strobist or concept shoot that started on time and ended up the way I wanted it to be. It's not that I don't get good results out of it; its just that I hate having to take too much effort to get where I want to be.

Playing around with strobes has its merits. You'll always have full control of the light source, you can move it around without changing composition. And you light will always be what you want it to be. Not to mention, you can light only the parts of the person you want to be visible, which is impossible with ambient light (or at least I haven't figured it out yet).

So what path do I choose? If given a choice, I'd be doing ambient lighting for its simplicity. I am a firm believer that simple portraits can be great, and can even be better than any studio shoot if done correctly. My aim is to be better in photography and going back to the basics and all natural feel is probably the best way to go.

But that doesn't mean I wont be shooting with strobes anymore... I'll take any opportunity to shoot. So, I'll end this blog with two additional shots for my 100 portraits project. One is done in ambient light and the other is with strobes. The one in ambient light is my best Danny Santos impersonation as of the moment; I'll get the hang of it eventually. I guess you'd be the judge on what suits me better.

Portrait #17: Maggie
maggie

Portrait #18: Gail

PS: special thanks to Kaye Garino for the makeup on Gail. 

Tuesday, July 12, 2011

Burger Joints, Ambient Light and Portrait #16

Simple is better...

On one rainy Saturday afternoon, I found joy in sitting inside a burger joint and shooting in ambient light. No concepts, production or complex lighting; just me and the model sitting down and waiting for the rain to stop.

My model was Luvley and we really did intend to do a shoot on that day in an open field. But the weather did not cooperate with us; it rarely does. So we sat there, patiently waiting for the rain to die down. I knew that we had to reschedule but since the store was empty, we decided to do a simple shoot just to pass the time. And boy, I was happy we did.

luvley b&w portrait

portraits (2 of 2)

Its been a while since I have done something solo but I am quite pleased with my output. And my model did really live up to her name. I've done a shoot with her and covered her 18th birthday but this simple look really suits her beauty. Now I have a portrait of her to add to my project.

Portrait #16: Luvley Mae Amoguis

Monday, May 23, 2011

The Queen of the Bay (Festival)

"Your body's worth more than the expanse of the sea..." -- Urbandub (Gravity)

I've known War Queen (or Waqui) for almost a year now and have seen her mature in many ways. But in the last few months, with the help of Kaye (our very own MUA), she has transformed into a bombshell. She only models for the group usually in a casual setting and she's learned a lot on how to pose and project. And after the last shoot we had with her, I am convinced that she can really pull off those model photoshoots. And by far, this is the only shoot that we were really seriously shooting her; and the output speaks for itself.

waqui (1 of 2)

waqui (2 of 2)

I forgot to mention, she's not really a model but rather a photographer. She only does modeling for the group; and she's doing a real fine job at it. I'll be changing my portrait of her in the my project to one of the two photos here.

Tuesday, May 3, 2011

On the Edge of the Frame and Portrait #11

I've been thinking lately about having a signature style for my portraits. It took me hours to scan my archives and look for that common thing. It was hard since I was looking for something original.

After some time, I finally admitted to something to myself: my shot has something to do with having my subject being at the edge of the frame.

It’s hardly original I know. And I am not making it my own (this is in reference to something Xander Angeles once said in a workshop). But it’s my preferred shot probably because I hate having the AF point at the center. It’s not about the rule of thirds or whatever; I hate rules. It's just a preference to have my AF point somewhere other than the center; my camera allows me to place it in 11 different points on my viewfinder. I find it easier to "compose" shots when I am not placing my subject at the center.

And it probably has something to do with my preferred lens too since I usually shoot with the 35mm these days. If I placed my AF point at the center and focused on the eyes, I would either be too far to capture the eye details or I'd cut some part of the face because I'm too near.

In my recent shoot with Sofia and the Photobombers, I used the style and was trying to refine it. I wanted to play around with having the subject not in the center but at the extreme edges then capturing a bit of the landscape in the process. I realized that my camera doesn't have enough AF points for me to compose properly.

Here are two of my shots from the set.

sofia 1 (1 of 1)

sofia 2 (1 of 1)

It’s a good thing that Sofia was very game in modeling for the group. I had a lot of time to practice the output I wanted. And it was the first time I ran out of memory cards for a single model; normally I consume about two-thirds of a 4GB card or around 200 shots per model. I stopped shooting only after I consumed two cards. I promise to post more of her shoot soon.

And of course, I had to add one for my project since it’s my first time to shoot with Sofia.

Portrait #11: Sofia
sofia 3 (1 of 1)

Wednesday, April 27, 2011

Remembering B&W and Portrait #10.

Believe it or not, I started shooting with film. If I remember it right, my dad always bought the Kodak ASA 400 black and white film. Back in the day, it was much more expensive to develop black and white but my dad, smart as he is, decided that it was better for me as colored film was much harder to shoot for an 11 year old kid.

15 years after, I still love black and white. And in my recent shoot, I tried to produce output that would be similar to shooting with black and white film. I did some research on how to do it. I learned how to add a bit of grain and noise to create that "B&W film look". Post processing in black and white is also much easier for me as I do not need to consider balancing colors; dodging and burning is complicated enough for me. And I wish that I had a film camera to play around with; my dad's Pentax needs a bit of cleaning before I can use it.

Here is my take on the B&W film look... with Anri as my model.

b&w (1 of 2)

b&w (2 of 2)

And I got to shoot with a new model, Dixie.

dixie

And I also came back to the location of my first photoshoot, Davao City's Pawikan Sanctuary. Here is where I tested the waters of portraiture. And similar to my last post, I did a bit of reminiscing. Its nostalgic and at the same time uplifting, knowing that I have come back to this place better than when I started.

Lastly, I haven't forgotten about my project. At the request of Dixie, I'm adding her favorite portrait to my 100 portraits album. I decided it would be in color since my last one was B&W. And I wanted it to be in color too because I love the sky background. 90 more portraits to go!

Portrait #10: Dixie


PS: I'll be posting again in the coming days with another shoot at the Pawikan Sanctuary and Portrait #11!

Friday, March 18, 2011

Noel + Cathy: A Unique Wedding

"Truth is, all brides are beautiful – exceptionally beautiful on their wedding day. If it doesn’t show, I’m not doing my job properly." -- Dino Lara

I was inspired by a blog post by my cousin about Brides being beautiful on their wedding day. They are really supposed to feel that they are the prettiest in the venue; that all eyes are on them. Its their day and its supposed to be the most memorable walk down the isle.

But its not just the bride but the groom as well. You can't have a bride without a groom now, can you?

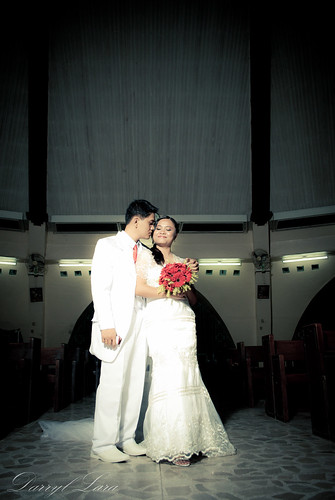
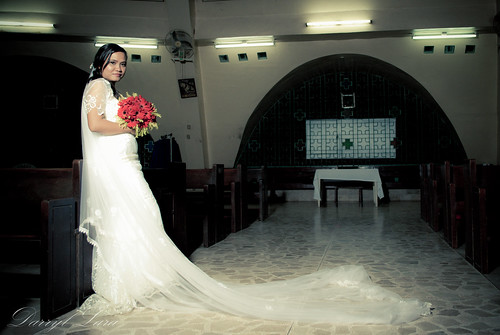
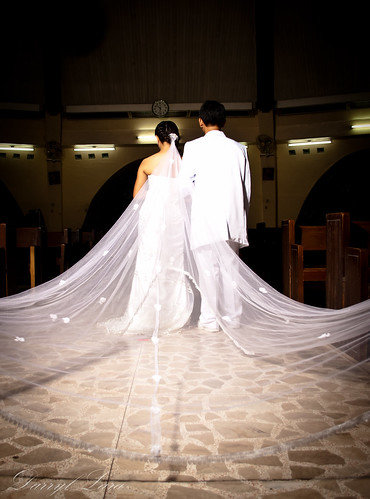
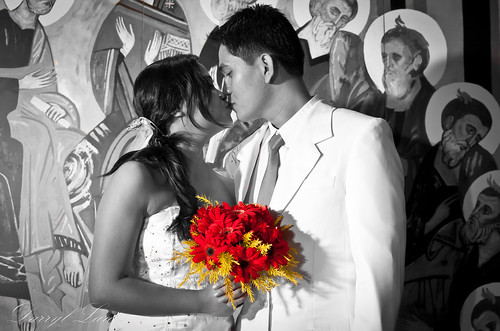
In my first solo wedding coverage, I found freedom to do what I want and shoot in the angles that I never tried before. I must say it was one satisfying experience for me. And a huge sigh of relief that I actually finished the wedding without panicking.

And this was an ultra-religious and non-conventional wedding because the bride and groom belong to a particular church group. The traditional entourage wasn't even present because only the bride, groom and their parents walked down the isle; no ring bearers or flower girls. The chairs where the bride and groom sat didn't face the altar but was in one side just to the right of the priest facing the assembly. And there was a huge liturgical table in the middle plus the lectern was also in the middle; a lot of obstacles were present which made it tricky. Even the church layout was a bit of a handful.

It was quite challenging because the whole ceremony itself was not ordinary. There were a lot of non-traditional parts and others were skipped which made it a bit confusing. But it was unique and fun at the same time; it kept me on my toes. But its still a wedding and its my job to cover it; I'm glad I did my job to the best of my abilities (or lack thereof).

A lot of first for me again. There were a few Uh-oh moments and some shots I missed but thats a part of growing up. I'll learn as I go along.

And as for my output, here are the first few frames from the wedding.

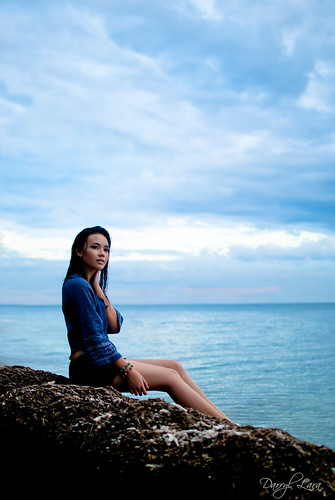
wedding (3 of 3)

wedding (1 of 1)

wedding (2 of 3)

wedding (1 of 3)

Sunday, March 13, 2011

Noel + Cathy E-Session

"And I'd give up forever to touch you..."

That is my all time favorite line from a song. And I make it a point to always listen to the song before shooting a prenup shoot. Music really helps get those creative juices flowing; and a little research also works.

Two Sundays ago, I did my first solo prenup shoot; And yes, it scared the hell out of me. One thing I am weak at is directing models or subjects. I'm the happy camper type photographer; I wait for my shots to happen naturally. I think it’s because I was a street shooter before going into portraits and prenups. Some habits just die hard. And being a guy, I naturally had a hard time directing "sweet" and "mushy" poses. I knew what I wanted to shoot but I really wanted it as candid as possible. It didn't happen with this couple so I had no choice but to direct. And like what I said, I hate directing.

Good thing I figured out how to coax them to revealing their softer side by constantly reminding them that they'll do this only once in their lives. And viola, I got them to show some lovin' (if you know what I mean). And gladly, by the time we started shooting it was windy but not raining; though the overcast skies ruined my plans for dramatic lighting.

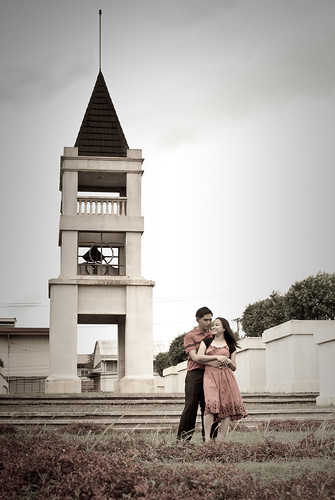
Without further ado, here are some of my favorite photos from the shoot.

noel + cathy fb (21 of 21)

noel + cathy fb (1 of 21)

noel + cathy fb (19 of 21)

Experience is the greatest teacher of all, and I learned a lot from this shoot. I hope my confidence would always be high even when shooting solo. And I hope that this learning experience would help me in my next projects.

PS: you can view the Flickr set here:  Noel + Cathy E-session Flickr Set

Sunday, February 27, 2011

The 100 Portraits Project: 3, 4 & 5

Every photoshoot invite is an opportunity for me to add to my 100 portraits project. A simple SMS on a weekend afternoon to shoot a new face gets me out of my hibernation to go out and shoot.

Most of those organized shoots have themes or concepts. I just come to the shoot with my camera and other gear. And most of the time, all I really have to do is shoot as there are already people who direct and do the styling. What I do is shoot first for my project and then shoot for a set with the theme. As my project is evolving, so are the concepts that we are doing.

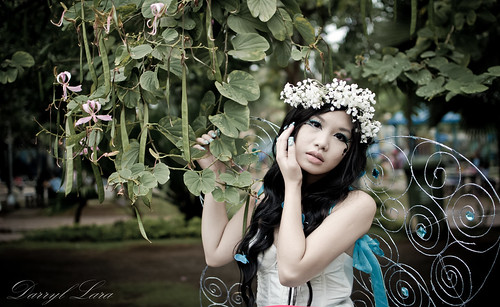
Portrait #3: Lara Kim (Fairy in the City)
This is different from the one I uploaded in Facebook.

lara

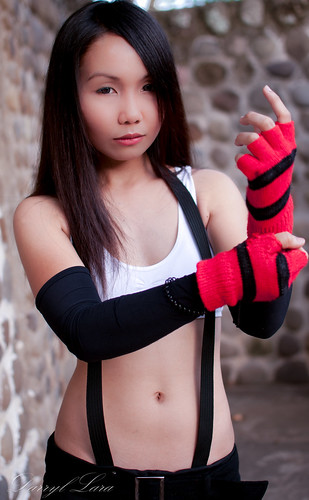
Portrait #4: Aysen (Tifa Lockheart of Final Fantasy VII)

aysen

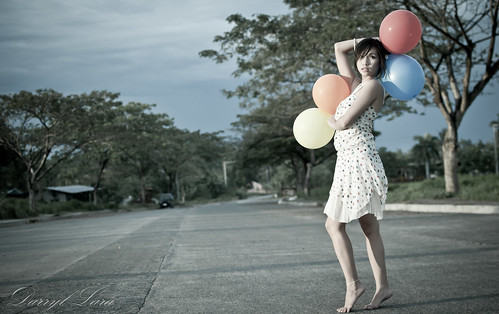
Portrait #5: Yuri (The Two Sides of Yuri)

yuri

I'm glad I don't have to think of concepts or whatever for these particular shoots. And honestly, my creative mind took an extended vacation and hasn't returned yet; I do hope it returns soon as I need it for the prenup shoot I'll be doing next weekend. Wish me luck!