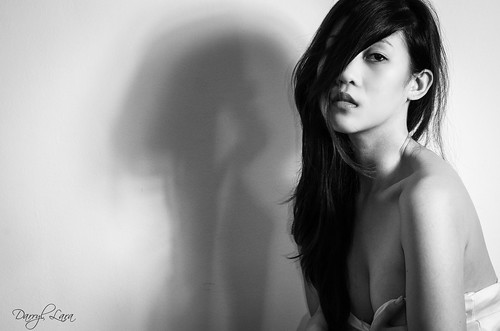
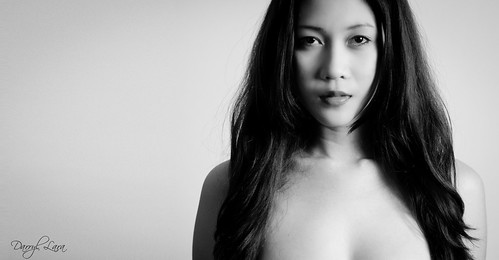
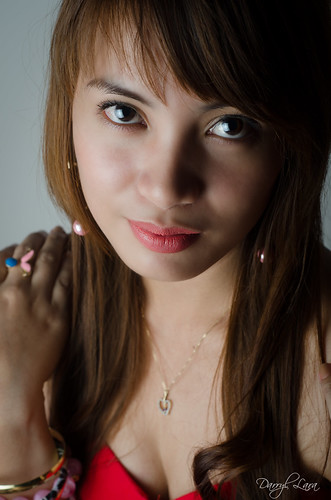
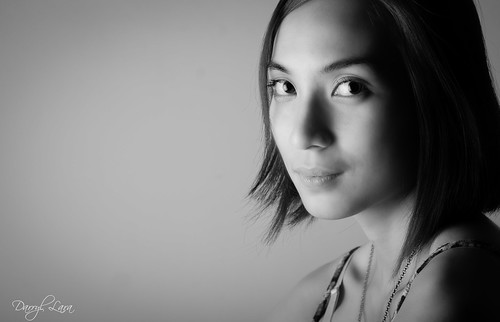
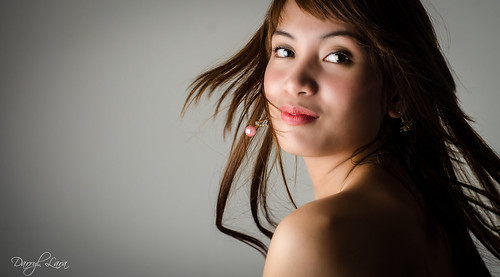
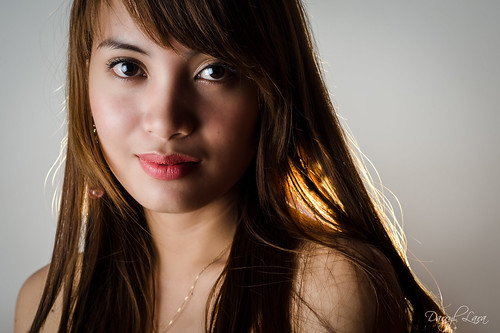
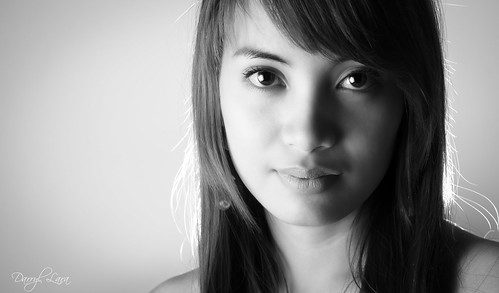
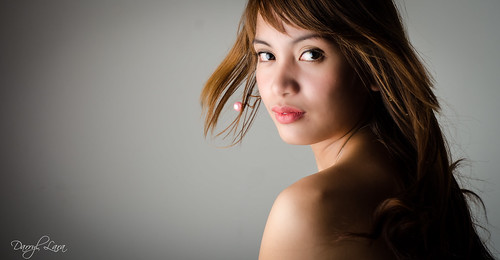
When dealing with indoor portrait shoots, I usually only need one light source. And the safest place for me to set it up is at a 45-degree angle to the side of a model and at eye level. This technique is something I learned some time ago by watching tutorial videos from the master of One Light Photography, Zack Arias. I really like the setup because it is so simple and it almost always works for portraits.
Two weeks ago, I got to use it again because while setting up I found out that we didn't have a light stand for the big studio light or the small strobe that we had. We improvised by letting the model sit on the floor while we set the light on a chair. It was technically not a one light setup but only one light was used to illuminate the model while a small strobe (used as an optical trigger for the studio light) was bounced against the wall but I think it didn't have much effect on the portrait. I added a bit of motion to the photo to make it a little better.
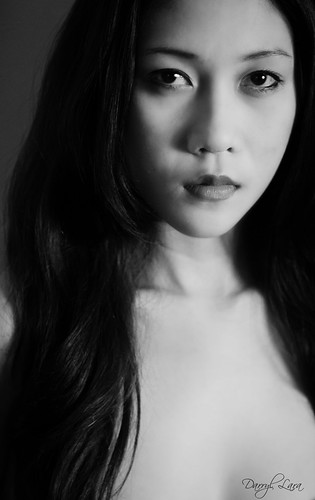
The second was a split light setup which was more to the side of the model to illuminate just one half of the face. I placed the small strobe behind the model to serve as rim light. I like this setup too because it adds quite a bit of drama to an otherwise plain portrait.
And of course there should always be one black and white photo.
I prefer this simple light setup because when I look at my portraits there are fewer distractions from introducing too many lights to the photo. I don't have to balance the lights or use up an entire hour just to figure out what I want to do and where to place the strobes. And as with any type of photography I do: the simpler it is to setup, the more time I can spend shooting.
And after all, going back to basics is always a good thing.
Portrait #34: Kitty
PS: Special thanks to Kate who did the makeup and styling and Richard Amora of A Photographs for lending us the studio. And to the crew as always for being there for the shoot.
PPS: This is the the first set where I used only the Nikkor AF 50mm 1.8D.
